In the emerging DIY security market, Lorex security cameras are always among the top-notch devices. These wireless security devices come with everything you require in a robust security system. However, when you buy a new Lorex wifi camera, you must complete the Lorex Camera Setup. Although this camera configuration is straightforward, some users need help throughout this process. So, if you are also looking for assistance in this process, walk through this post!
How To Set Up Lorex Camera Effortlessly?
To begin with the Lorex WiFi Camera Setup procedure, you should have some important things with you. These fundamentals are a stable internet connection, accurate login credentials, the Lorex app, etc. Further, you must opt for an appropriate method to set up your Lorex camera. So, check the complete stepwise procedure to configure your security gadget, below:
Lorex Camera Setup On Phone
- Initially, connect the camera to the power adapter to power it on.
- Wait till the status LED flashes green and you hear a chime.
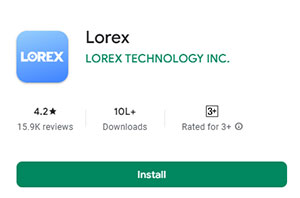
- Then, download the Lorex app on your smartphone or scan the QR code on the device label.
- Open the app and create an account if you are a first-time user.

- Otherwise, log in with your existing credentials.
- Then, you reach the camera’s dashboard.
- Now, go to the ‘Devices’ from the bottom of the screen.
- On the Devices screen, tap on the “+” icon to add your camera to the app.
- Hereon, you see a QR code on the Setup page.
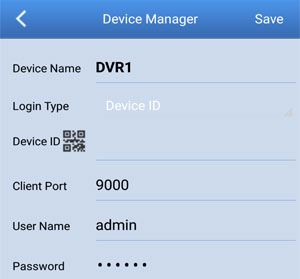
- Then, scan this QR code or tap Manually Enter Device ID.
- When you manually add your device ID, you will hear a camera start-up chime and a flashing green indicator.
- After that, allow the Lorex app to directly connect the camera to the wifi network.
- Further, set a secure password for the Lorex camera on the setup page.
- Confirm the password by typing again and tap Next.
- Now, choose any wifi network from the available list of networks and enter the password.
- Wait for the camera LED to chime and turn solid green. Then, tap ‘Next’.
- Then, name your Lorex camera in the given text box and tap ‘Complete’.
- At last, you are done with the Lorex Camera Setup.
Note: You can also set up the Lorex camera directly via the Lorex smart home security center.
Performing the Lorex WiFi Camera Setup on PC/MAC
- Firstly, make sure your security device is powered on.
- Then, connect your Windows/ Mac system or security camera to the same wifi network.
- Now, download and launch the Lorex Client 13 software on your device.
- After that, log into the Lorex camera via this software.
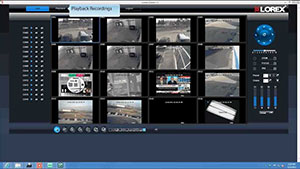
- Further, you reach the Home Screen of the Lorex Client 13.
- Hereon, navigate Live, Playback, Remote Settings, Local Setting, etc. sections and configure your device accordingly.
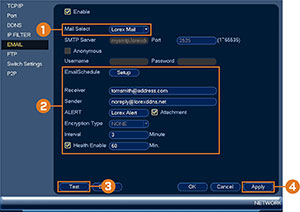
- You can also change the Channel Settings, Color Controls, PTZ Controls, Search Recordings, Playback Controls, and many other settings through this software.
- Then, follow the on-screen instructions to configure your security device accordingly.
Final Thoughts
Overall, this guide provides you with deeper insights into the Lorex Camera Setup. You have learned the two different ways to configure your device seamlessly. Hopefully, our guide helps you to customize your security device to experience next-level security at home.